Etxean zehar hainbat trasto zahar eta erabiltzen ez ditugun istorio pila ditugu. Askotan, apurtuta edo zaharkitua dagoen zerbait bota ez nahi izatearen arrazoia "ihauterietan seguru erabiliko dudala" esatea izaten da. Azkenean, txoko ezkutuan gorderik geratzen dira, armairua zabaldu eta "hara! zer egiten du honek hemen!" esaten dugun arte.
Kartoizko kaxa dotore honekin hori pasatu zitzaidan. Nire nebak katilu parea, kaxatxo xarmangarri hontan erregalatu zizkidan eta klaro katiluak erabili eta kaxa gorde egin nuen. Pasadan astean aurkitu nuen eta berarekin zerbait egin beharra neukala pentsatu nuen.
Hori dela eta hemen daukazue pausoz pauso nola aldatu nuen kaxatxo honen itxura, ia gustatzen zaizuen!
In our houses, there are many old things and stuff that we don´t use. Often, the reason when you don´t want to throw something, that is broken or obsolete is "in carnival sure that I used to". Finally, stuff is hidden in the last corner and when you´re opening the cabinet, you say "This is still here!".
That was passed me with this elegant cardboard box. My brother give me a couple of cups inside this charming box in my birthday, I used the cups and I save the box in my wardrobe. Last week, I discovered it again and I thought, I had something to do with it.
So, here you have step by step how to change the appearance of my little box.
Beharrezkoak izan nituen materialak hurrengo hauek dira:
Here you have, the necessary materials:
- Artaziak./ - Scissors.
- Orratzak. / - Needles.
- Haria. / - Thread.
- Kola. Telarekin erabiltzeko eta paperarekin erabiltzekoa. / - Fabric glue and paper glue.
- Bi alde dituen telazko zeloa. / - Double coated cloth tape.
- Fieltroa. / - Felt.
- Enkaje zatitxo bat. / - Lace.
- Bies zinta. / -Bias binding.
- Patroi baten kolorezko fotokopia. / - A copy from a pattern.

1. Lehenengo pausoa barrualdea aldatzea izango da. Horretarako fotokopia zatiak pegatuko ditugu barnealdean. Zatiak bata bestearen gainean jartzen baditugu, nire ustez hobeto geratzen da.
1. First you have to coat the pattern´s copy paper on the inside. For me is better if you put it with no order.


2. Gero kanpoalde guztian fieltroa jarriko dugu. Kolarekin hasi nintzen baina bi alde dituen zeloak askoz hobeto eta azkarrago egingo dizuen lan guztia.
2. Put the felt in all the parts. First I used the glue but the result is better with the double coated cloth tape.

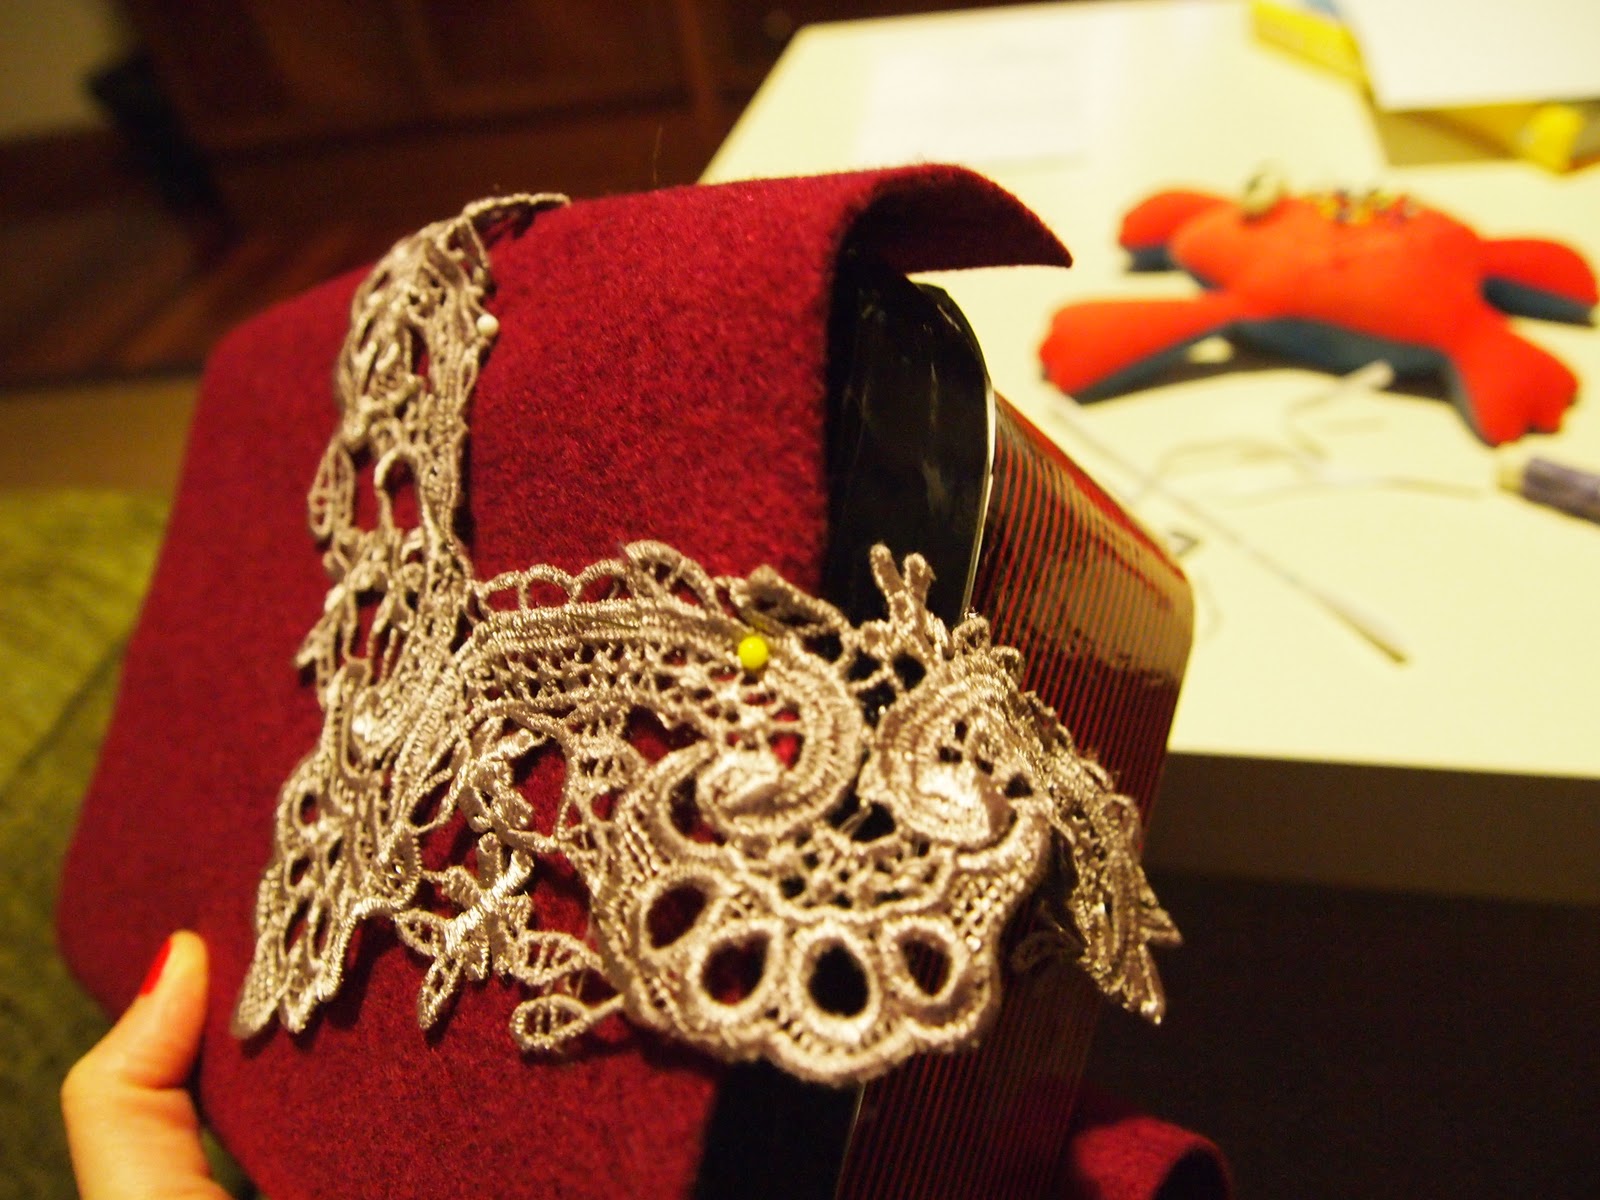
3. Ganekaldean enkaje zatia jarri behar dugunez. Finkatu baino lehenago, enkajea fieltrora josiko dugu.
3. Sew the lace in the correct position.
4. You can coat the bias binding, but I think that is nicer with no bias.
Eta voila! amaituta!

Absolutely astonishing! The lace is gorgeous!
ReplyDeleteThank you Maya!
ReplyDeleteThe lace is very nice, I was hesitant to cut it or not, because I was embarrassed not to use all.
But finally the result was ok!
Maider x